
Gemstone / OnyxLabradorite

Step 2 + 3 / Configure wallpaper

Labradorite

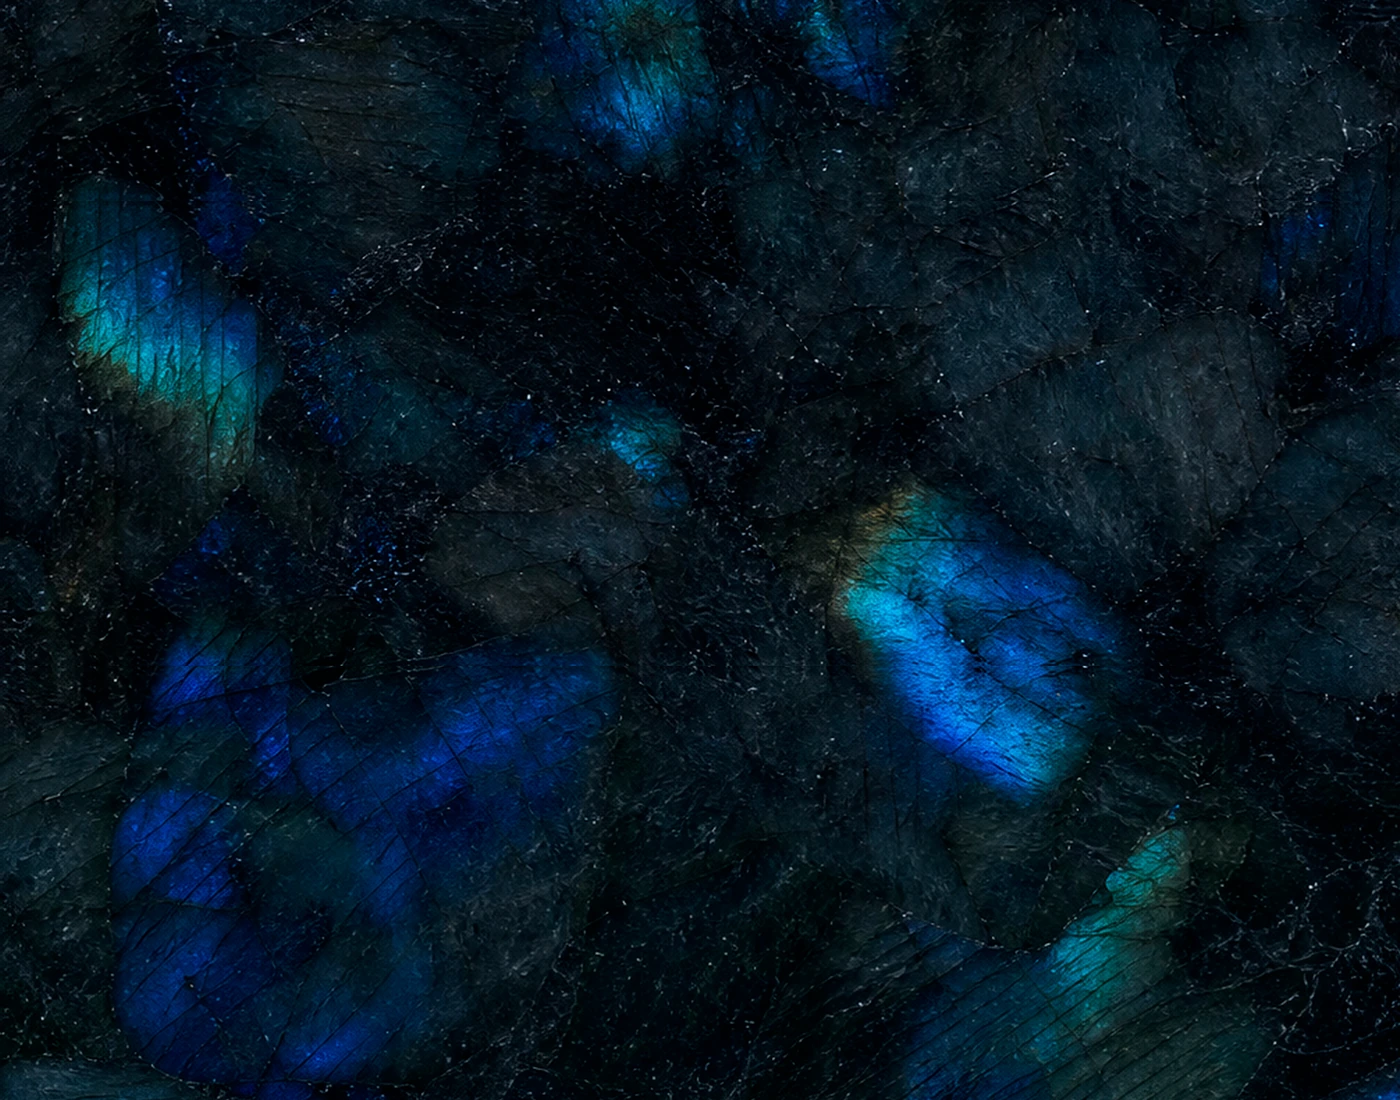
Dark mineral depth illuminated by blue-green iridescence.

Ready to configure

Wallpaper / Labradorite

$6.00 / sq ft

2. Choose roll size

24.5 in wide

3. Choose media

Removable Vinyl

Smooth removable vinyl with a pressure-sensitive adhesive backing.

Installation: No additional adhesive required.

Non-repeating

Each roll contains a non-repeating material pattern optimized for wall placement.

Selected roll24.5" × 16'
Coverage / roll32.67 sq ft
Price / roll$196.00
Ship weight / roll3 lb

Roll quantity

1
1 roll · Removable Vinyl · 3 lb ship weight$196.00

Checkout reviews the selected roll, media, quantity, coverage, shipping weight, and product subtotal before secure payment.

Need help estimating how many rolls?

Wall calculator

Estimate your roll quantity.

Uses full-height panel yield
Full-height panels6
Panels per roll1
Estimated rolls6
Estimated product total$1,176.00
Unit size24.5 in wide
Price basis$6.00 / sq ft
Package16 ft / 33 ft roll
Package price$196.00 / $404.25
Shipping weight3 lb / 4 lb
Pattern structureNon-repeating

Wall placement

Designed as material, not motif.

Each roll contains a non-repeating material pattern optimized for wall placement. Conventional wallpaper repeat measurements do not apply.

Gemstone / Onyx / Wallpaper specification

Labradorite wallpaper for full-height interiors.

Dark mineral depth illuminated by blue-green iridescence. The wallpaper format keeps the surface visual continuous and non-repeating across a 24.5 in wide roll for residential, hospitality, retail, and commercial interiors.

01

Roll dimensions

Choose a 24.5 in × 16 ft roll or a 24.5 in × 33 ft roll, priced from the same $6.00 per sq ft basis shown above.

View Labradorite surface details
02

Wallcovering media

Select removable vinyl, professional non-woven paste-the-wall, or natural grasscloth depending on the installation and finish.

Compare wallpaper installation media

Installation guide

Install for the material.

Always follow the adhesive and wallcovering manufacturer instructions and verify compatibility with the wall surface before installation.

Before you begin

  1. Inspect the wall and repair holes, cracks, loose paint, or uneven areas before installation.
  2. The wall must be smooth, clean, dry, dust-free, and fully cured before wallcovering is applied.
  3. Remove switch and outlet covers and establish a true vertical plumb line for the first panel.
  4. Plan the complete wall layout before installation. SPLASH artwork is non-repeating, so conventional pattern-repeat measurements do not apply.

Removable Vinyl

Peel-and-Stick

  1. No additional paste is required; the material has its own pressure-sensitive adhesive backing.
  2. At the top of the wall, peel back only a short section of the release liner and align the first panel to the plumb line.
  3. Work downward gradually, removing the liner as you smooth the material from the center toward the edges.
  4. Use a clean felt-edge squeegee or soft smoothing tool. Avoid stretching the vinyl during application.
  5. Trim cleanly at ceilings, baseboards, corners, switches, and outlets with a sharp blade.

Paste-the-Wall

Traditional Non-Woven

  1. Apply a compatible wallcovering adhesive evenly to the wall rather than soaking the wallpaper.
  2. Recommended adhesive: ROMAN PRO-880 Ultra Clear Strippable Wallcovering Adhesive, or an equivalent clear adhesive approved for non-woven wallcoverings.
  3. Place the dry panel into the wet adhesive and align it to the plumb line.
  4. Smooth gently from the center outward and butt adjoining panels carefully without overlapping them.
  5. Remove excess adhesive promptly with a clean damp sponge, then trim at ceilings, baseboards, and openings.
  6. Allow the installation to dry naturally with normal room ventilation.

Textured Fiber

Natural Grasscloth

  1. Professional installation is strongly recommended for natural grasscloth.
  2. Recommended adhesive: ROMAN GH-34 Wheat-Based Paste, or an equivalent non-staining adhesive specifically approved for natural-fiber wallcoverings.
  3. Apply adhesive evenly according to the adhesive manufacturer's instructions and avoid contaminating the visible fiber face.
  4. Position the panel carefully and smooth it with a soft wallcovering brush rather than aggressive pressure.
  5. Butt seams carefully. Natural fibers can make seams and tonal variation more visible; this is part of the material character.
  6. Allow the wallcovering to dry gradually under normal indoor conditions.